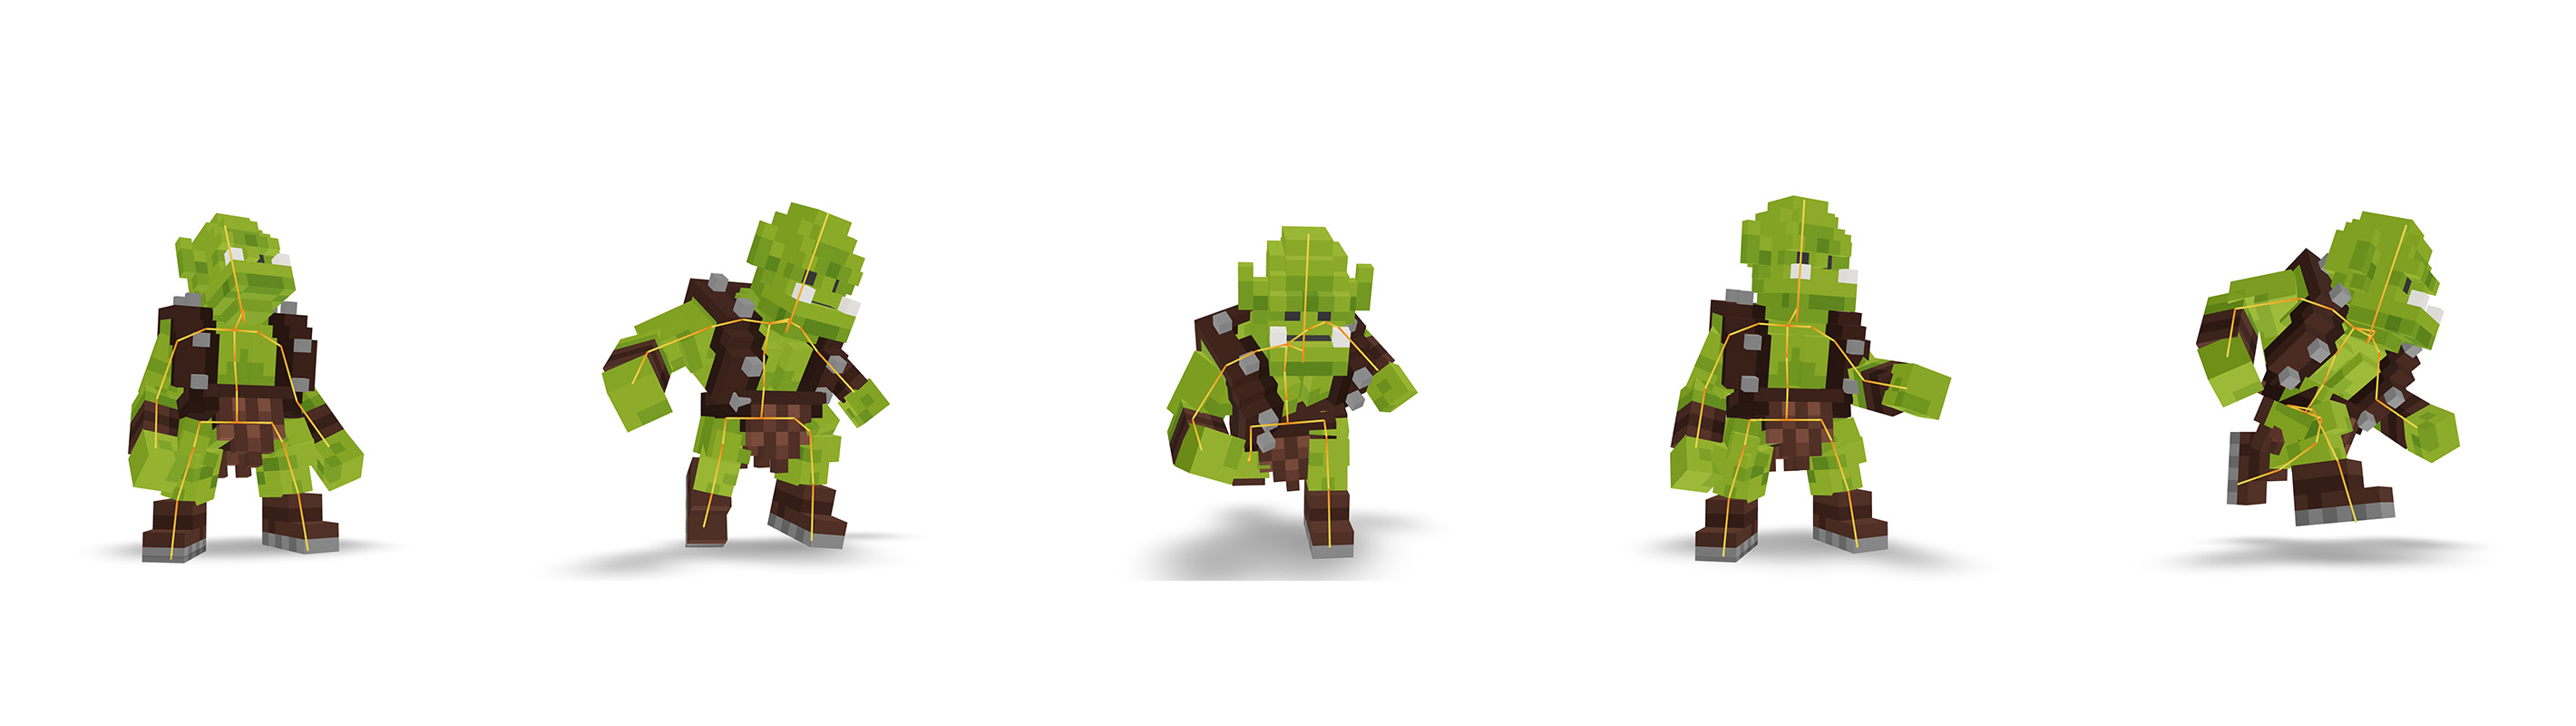
A static voxel model is nice. A voxel model that waves, walks, or wags its tail is a whole different thing — and it sells better, too. Briq ships two built-in tools that take you from a plain model to a looping, game-ready animation without ever leaving your browser: the Rigger and the Animator.
This guide walks the full pipeline for complete beginners. No prior rigging experience needed.
The big picture
Here's the whole journey at a glance:
- Build your model in MagicaVoxel — with each moving part as its own object.
- Upload the `.vox` file to your Briq asset. We convert it to GLB automatically.
- Rig it: place joints that tell each part where it bends.
- Animate it: pose the skeleton on a timeline and loop it.
- Show it off: your animation plays right in the marketplace showroom, and you can export a game-ready GLB for Blender, Unity, or Godot.
Step 1 — Prep your model: one volume per limb
This is the single most important step, and it happens before you ever open the Rigger — in your voxel editor.
Briq's rigging is rigid-body rigging: every part of your model is attached to exactly one bone, and it moves as one solid piece. That means every part you want to move independently must be a separate voxel object (layer) in your `.vox` file. When we convert your file, each object becomes what the Rigger calls a Volume.
For a simple character, that typically means:
- Head — one object
- Torso — one object
- Left arm / right arm — one object each
- Left leg / right leg — one object each
- Tail, ears, sword, jetpack… — one object each if it should move on its own
If you sculpt the whole character as a single blob, the Rigger will see just one Volume — and one Volume can't bend. Split first, rig happy.
A few prep tips that pay off later:
- Name your objects in MagicaVoxel ("Head", "ArmL", "ArmR"…). Those names survive conversion and show up as your Volume and bone names — much nicer than "Volume 3". You can also rename them later in the Rigger.
- Leave parts touching or slightly overlapping at the spots where they should pivot (shoulder, hip, neck). The Rigger auto-places joints at the boundary between two volumes.
- Keep it simple for your first rig: a 6-part character (head, torso, two arms, two legs) is the perfect starter.
Then upload the `.vox` on your asset page as usual — up to 10 files, 64MB each. New to building models? Start with our intro to voxel art.
Step 2 — Open the Rigger
Go to one of your uploaded assets and hit the Rig button next to the file. That opens the full-screen Voxel Rigger with your model loaded.
Take a second to get oriented:
- Top toolbar — camera views (ISO / Front / Side / Top), a voxel grid and wireframe toggle, a Snap setting (place joints on a 1 or 0.5 grid), and the three modes: Select, Joint, and Test.
- Volumes panel (right) — every part of your model, listed top-to-bottom, with a progress bar showing how many volumes are rigged so far. A little dot marks each volume that's connected to a joint.
- Joints panel (left) — every joint you've placed, with rename, delete, and per-joint rotation constraints.
Your work autosaves as you go — watch for the "Saved" indicator in the toolbar.
Step 3 — Place your joints
A joint connects a parent volume to a child volume, and marks the pivot the child rotates around. Torso → arm, arm → hand, torso → head.
Switch to Joint mode and it's a simple two-click move:
- Click the parent volume (e.g. the torso). A hint appears: "Now click the child volume."
- Click the child volume (e.g. an arm).
The Rigger computes the joint position automatically at the boundary between the two parts, snapped to your grid setting. Placed it slightly off? Grab it with the Move gizmo from the Joints panel and nudge it — shoulder joints usually want to sit right at the top of the arm.
Work your way through the character: torso → head, torso → each arm, torso → each leg. As you go, the Volumes panel fills up its "rigged" progress bar.
About the root: every rig needs a single base volume — the one everything else hangs off (usually the torso). The Rigger auto-detects it as the volume that's a parent but never a child. If your setup is ambiguous, click the anchor icon on the base volume to set the root manually.
Rotation constraints (optional but pro): expand a joint in the Joints panel to limit how far it can rotate on each axis — say, a knee that only bends backward from 0° to 130°. Constraints carry over into the Animator, where poses are clamped to them, so you can't accidentally break your character's elbows.
Step 4 — Test your rig
Switch to Test mode and just grab your model. Drag an arm — the whole arm chain swings around its joint, exactly as it will in animation. This is forward kinematics doing its thing.
- A floating readout shows the live rotation angles.
- Cmd/Ctrl+Z undoes a test rotation.
- The Reset joint positions button snaps everything back to rest.
If a part drags the wrong pieces along (or doesn't move at all), check your joint parent/child direction and the Volumes panel's rigged dots. Volumes not connected to the root through joints won't animate — the Rigger will warn you: they export rigidly attached to the root.
When it feels right, hit Save rig to bake the rigged model to your asset — or jump straight ahead with the Animate button.
Step 5 — Animate
The Animator opens with your rigged model, a bone hierarchy panel, and a timeline. The workflow is classic keyframe animation, stripped down to the essentials:
- Move the playhead to a point in time.
- Pose the skeleton: click a bone (in the Bones panel or directly on the model — the selected part gets an orange outline) and rotate it with the gizmo. A readout shows the exact angles, and rotations respect the constraints you set in the Rigger.
- Set Frame (or press S): snapshots the current pose as a diamond keyframe at the playhead.
- Repeat at different times, then press Space to play. Briq smoothly interpolates between your keyframes.
The timeline gives you everything you need for tight loops:
- Play / Pause / Stop / Loop transport controls (loop is on by default).
- A Duration field (0.1–10 seconds). Changing it rescales your existing keyframes to preserve the rhythm.
- Drag keyframes along the 30 FPS grid to retime them; copy, cut and paste poses between frames.
- The killer feature for loops: Copy first frame to end — one click gives you a perfectly seamless cycle.
- Cmd/Ctrl+Z undoes both pose tweaks and timeline edits.
And you're not limited to one animation: the Clips bar lets you add multiple named clips on the same model — an idle, a walk, a wave — all saved together. Hit Save and every clip is baked into the asset.
A beginner's first loop: the idle bob
A great first animation, doable in two minutes:
- Set duration to 2 seconds.
- At frame 0, leave the rest pose and press Set Frame.
- Move the playhead to 1s, rotate the arms slightly out and tilt the head, Set Frame.
- Click Copy first frame to end.
- Press Space. Congratulations — your character breathes.
Step 6 — Show it off (or export it)
Once saved, your animation plays directly in the marketplace showroom: visitors get a play button — or, with multiple clips, a dropdown to pick which one to watch. Animated assets simply feel more alive on a listing page.
Want to use it outside Briq? Both tools have an Export GLB button. The Rigger exports a rigged GLB (a skeleton with weighted meshes); the Animator exports a GLB with every clip baked as standard animation tracks. Blender, Unity and Godot import them out of the box.
Good to know
- One volume per limb — the golden rule. Split your model before uploading; you can't split it in the Rigger.
- At least one joint is required before you can export, save, or animate.
- Editing a rig erases its animations. Changing the skeleton invalidates saved poses, and Briq will warn you before it happens — finish your rig before you invest hours in animation.
- Clips run at 30 FPS, up to 10 seconds — plenty for loops, which is what the showroom plays.
- There's no weight painting and no easing curves to manage. That's on purpose: rigid volumes and smooth interpolation keep the workflow fast and very hard to mess up.
That's the whole pipeline. Split your model, click your joints together, pose a loop — and your work stops being a statue.