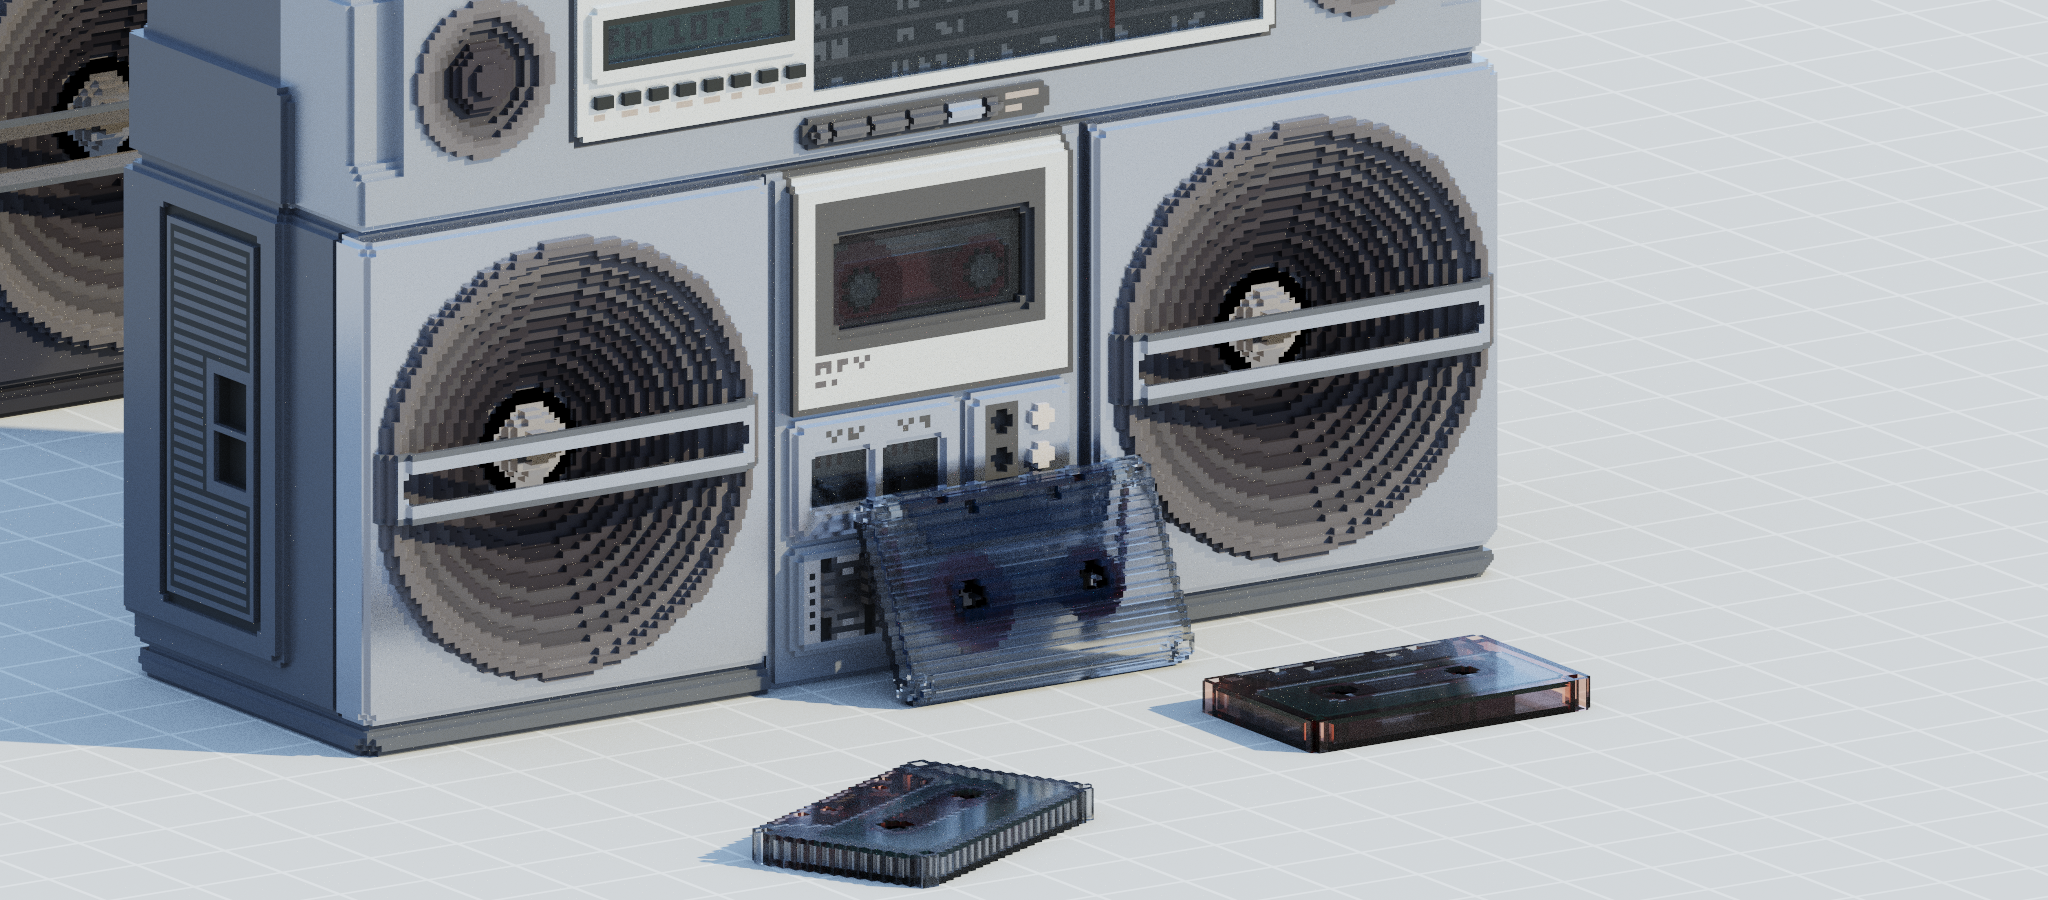
Buyers decide whether to click on your model in about half a second, and they decide based on one image. The good news: MagicaVoxel ships with a genuinely good path-traced renderer, and getting a professional-looking hero shot out of it comes down to a handful of settings. Here's the recipe.
Start in the Render tab
Everything below happens in the Render view (top-right of the editor). The viewport switches to a progressive path tracer: the image starts noisy and refines as samples accumulate. Let it cook — grain disappears on its own. You only need a fully converged image for the final export, so keep working while it's rough.
The camera: three-quarter and low
The default composition that flatters almost every voxel model:
- Three-quarter view. Rotate so you see two faces of the model — front and one side — instead of a flat elevation. Voxel art is about readable geometry, and a three-quarter angle shows depth without hiding the silhouette.
- Slightly below eye level. Position the camera a touch low, looking marginally upward. It makes characters feel heroic and buildings feel grand. A high, downward angle makes everything look like a miniature — save that for dioramas, where the toy-like feel is the point.
- Watch your FOV. MagicaVoxel's field-of-view setting is a style dial. Low FOV (or the orthographic-feeling far zoom) gives that clean, classic "isometric" voxel look with no perspective distortion — great for buildings and tiles. A moderate FOV with the camera closer adds drama for characters and vehicles. Avoid wide FOV up close: it warps the edges of your model.
Fill the frame. The model should occupy most of the image, with a little breathing room — thumbnails get displayed small, and a model floating in a sea of background reads as empty.
Sun and sky: one key light, done well
The lighting panel is where most renders are won or lost. You're essentially placing one big light source — the sun — and tinting everything else with the sky.
- Sun angle. Put the sun high and off to one side, roughly 30–45° up and rotated so light rakes across the model rather than hitting it head-on. Raking light is what makes individual voxels cast tiny shadows on each other — that texture is the charm of the medium. Front-on light flattens everything.
- Sun intensity. Strong enough for crisp shadows, not so strong that your brightest colors blow out to white. If your palette's lightest tones are losing detail, back it off.
- Sky color. The sky acts as your fill light and sets the mood. A neutral or slightly warm sky is the safe default. For stylized shots, complementary sun/sky temperatures — warm sun, cool blue sky — give shadows a pleasing color instead of dead grey. This one trick makes renders look instantly more deliberate.
- Shadows on. A model with no ground shadow looks pasted on. The contact shadow anchors it.
If your model will be viewed in AR or as a rotating 3D preview, remember the hero shot is your framing — pick the model's best face and light for it.
Materials: a little emissive goes a long way
MagicaVoxel materials (the panel next to the palette) apply per palette color, and they render beautifully in the path tracer:
- Emit is the showstopper. Windows, screens, lava, magic runes, engine glow — pick the palette color and give it a modest emission value. Emissive voxels light their surroundings in the render, which makes night scenes and sci-fi models pop. Restraint matters: one or two glowing accents read as intentional; a model that's half emissive reads as radioactive.
- Metal adds directional highlights — good for machinery, weapons, gold. Keep roughness moderate; mirror-perfect metal picks up the empty sky and can look black.
- Glass works for windows and bottles but is expensive to converge — expect longer render times and some noise.
- Leave everything else diffuse. Voxel art doesn't need every surface to have a gimmick.
A dark or dusk lighting setup plus one emissive accent is the single highest-impact combination for a dramatic hero shot.
Ground and background: keep it quiet
- Use the ground plane to catch the shadow, in a neutral tone that isn't fighting your palette.
- A simple gradient or flat background color beats a busy environment. The subject is the model.
- Match the background against where it'll appear: briq cards render your image against the site UI, so extreme black or pure white backgrounds can look harsh. Mid-tones are safer.
Export settings
- Render at 2× the size you need and let the marketplace scale it down — downscaling hides residual path-tracer noise and sharpens edges. For briq listing images, something in the 1600–2000px range is plenty.
- Let the sample count climb until visible grain is gone, especially in shadow areas and around glass, then export the image from the render panel.
- Do a final check at thumbnail size: zoom your exported image out to roughly 300px. If the silhouette and key details still read, you have a hero shot. If it turns to mush, get closer and simplify.
Uploading to briq
When you publish, briq auto-generates a thumbnail from your model — but a custom-rendered hero image will nearly always outperform it. Upload your render as the listing image and let the auto-generated files handle the 3D preview.
The short version: three-quarter angle from slightly below, sun raking across at 45°, warm-versus-cool sun and sky, one emissive accent, quiet background, render big and downscale. Two of these alone will lift your listings; all six will make them look like someone was paid to shoot them.